Snubber Circuit Design and CAE Simulation
Snubber Circuit Design and CAE: Theoretical Foundations
Role and Classification of Snubber Circuits
Professor, what is the purpose of adding a snubber circuit? It appears in power electronics textbooks, but I also hear things like "SiC doesn't need a snubber" these days. I'm confused about which is actually correct.
That's a good question. The essence of a snubber is to suppress the dV/dt during turn-off and protect the device. At the moment a power device turns off, the current $I$ flowing through the parasitic inductance $L_s$ of the wiring and package is abruptly interrupted. At that time, a voltage spike $V_{spike} = L_s \cdot \frac{dI}{dt}$ occurs, and if it exceeds the device's voltage rating, it can cause avalanche breakdown and failure.
I see, it's like the shock on a seatbelt during sudden braking?
That analogy is quite close. A snubber is exactly like an airbag, absorbing the impact energy to prevent damage. Let's organize the types of snubbers:
| Type | Configuration | Operating Principle | Applications |
|---|---|---|---|
| RC Snubber | R + C series | dV/dt suppression + oscillation damping | IGBT/MOSFET turn-off protection, parasitic oscillation suppression |
| RCD Snubber | R + C + D | Voltage absorption by C → dissipation by R | Flyback converters, half-bridges |
| LC Snubber | L + C | Achieves zero-voltage switching via resonance | Resonant converters, soft switching |
| Active Clamp | MOSFET + C | Actively clamps voltage | High-efficiency forward/flyback |
Since RCD snubbers are representative, they're the ones most commonly seen in things like flyback power supplies, right? The C absorbs the V spike during turn-off, and the R converts it to heat.
Exactly. The role of the diode D is also crucial: During turn-off, D conducts and diverts current into C; during turn-on, D is reverse-biased and the charge on C discharges through R—this means one charge/discharge cycle of C per switching cycle. This repeated "absorption → dissipation" is the basic operation of an RCD snubber.
Governing Design Equations
What are the design equations for a snubber? How do you decide things like capacitor value and resistor value?
Let's start with the most basic design equation. While the peak turn-off current $I_{peak}$ falls to zero during the fall time $t_{fall}$, charge accumulates in the snubber capacitor $C_s$. To limit the clamp voltage to $V_{clamp}$:
This equation is an approximation assuming the current decreases linearly, used in practice to get an initial estimate. Let's confirm the meaning of each variable:
- $I_{peak}$ — Peak current flowing through the device just before turn-off [A]
- $t_{fall}$ — Time for the current to fall from peak to zero [s] (the $t_{fi}$ listed in datasheets)
- $V_{clamp}$ — Maximum allowable voltage (typically set to 70-80% of the device's voltage rating) [V]
For example, for a 600V-rated IGBT with $I_{peak}$ = 20A, $t_{fall}$ = 200ns, $V_{clamp}$ = 480V (80% of rating)...
Let's calculate. $C_s = \frac{20 \times 200 \times 10^{-9}}{2 \times 480} \approx 4.2 \text{ nF}$. This is the starting point, and fine-tuning is done from here using circuit simulation.
Another important design equation comes from energy balance considering the parasitic inductance $L_s$:
This is derived from energy conservation: the energy stored in the parasitic inductance $L_s$ at turn-off, $\frac{1}{2}L_s I_{off}^2$, is transferred to the snubber capacitor, becoming $\frac{1}{2}C_s(V_{clamp}^2 - V_{DC}^2)$. $V_{DC}$ is the steady-state DC bus voltage.
So a larger parasitic inductance requires a larger C... Reducing L through PCB layout or busbar design is the first priority, then.
Correct. If you want to reduce snubber capacitance, first reduce parasitic inductance—this is a golden rule in power electronics design. And the snubber resistor $R_s$ is determined from the critical damping condition:
This is the condition for the LC circuit formed by $L_s$ and $C_s$ to be critically damped (no overshoot). In practice, it's adjusted within 0.5 to 2 times this value. If $R_s$ is too small, ringing remains; if too large, the dV/dt suppression effect weakens.
RCD Snubber Design Theory
In the case of an RCD snubber, what changes because of the diode?
The biggest difference between an RC snubber and an RCD snubber is that the charge and discharge paths are separated. In an RC snubber, the charge on C discharges through the switch during turn-on, causing extra loss in the switch. In an RCD snubber, D prevents this, and discharge occurs slowly via R.
In the steady state of an RCD snubber, the capacitor voltage $V_C$ stabilizes under the following condition:
$V_{margin}$: Spike absorption margin (typically 10-30% of $V_{DC}$)
Determining R for an RCD snubber involves a constraint from the RC time constant. The discharge time constant $\tau = R_s C_s$ relative to the switching period $T_{sw}$:
- $\tau \gg T_{sw}$ → C doesn't fully discharge, voltage keeps rising (runaway)
- $\tau \ll T_{sw}$ → C discharges immediately, no snubber effect
- Recommended: $\tau \approx (3 \sim 5) \times T_{sw}$ — A practical guideline
For example, with a switching frequency of 100kHz ($T_{sw}$ = 10μs) and $C_s$ = 4.7nF, $R_s = \frac{3 \times 10 \times 10^{-6}}{4.7 \times 10^{-9}} \approx 6.4 \text{ k}\Omega$ would be the starting point.
Energy Dissipation and Thermal Design
I have the impression that snubber resistors get quite hot. How much power do they actually consume?
The average power consumed by the resistor in an RCD snubber, assuming all energy stored in C per switching cycle is dissipated in R, is:
Calculating with the previous example ($C_s$ = 4.2nF, $V_{clamp}$ = 480V, $V_{DC}$ = 400V, $f_{sw}$ = 100kHz):
$P_{snub} = \frac{1}{2} \times 4.2 \times 10^{-9} \times (480^2 - 400^2) \times 100 \times 10^3 \approx 0.037 \text{ W}$
In this case it's not a problem, but in high-current, high-frequency applications (e.g., $C_s$ = 100nF, $f_{sw}$ = 500kHz) it can reach several watts, requiring proper snubber resistor rating and thermal design. For automotive onboard charger (OBC) class, snubber losses exceeding 10W are not uncommon.
So efficiency drops by the amount consumed by the snubber. That's why active clamps are said to be more efficient.
Exactly. A snubber inherently "discards" energy as heat, thus theoretically lowering efficiency. An active clamp regenerates energy, so losses are smaller. However, active clamps require an additional MOSFET and gate drive circuit, making the circuit more complex—it's a trade-off between loss and cost/reliability.
Interaction with Parasitic Parameters
Where exactly does parasitic inductance exist? Only in PCB traces?
No, it's everywhere. Parasitic inductance in power electronics circuits is mainly distributed in the following locations:
| Location | Typical Value | Impact |
|---|---|---|
| Device package internal bonding wires | 5–15 nH | Spikes right at the device |
| PCB trace patterns | 1–10 nH/cm | Proportional to loop area |
| Busbars (power modules) | 10–50 nH | Dominant in high-current paths |
| DC link capacitor ESL | 5–20 nH | Limits high-frequency bypass capability |
| Connectors / terminal connections | 2–10 nH | Often overlooked |
The sum of these constitutes the total circuit parasitic inductance $L_s$. Even with $L_s$ around 100 nH, if $dI/dt$ = 1 kA/μs, $V_{spike}$ can reach 100V.
So you can't design a snubber without knowing the parasitic inductance accurately. How do you measure it?
There are three main approaches:
- Direct Measurement — Measure with an impedance analyzer or TDR (Time Domain Reflectometry). Requires a prototype.
- 3D FEM Electromagnetic Field Analysis — Extract parasitic RLC from 3D models of PCBs or busbars using tools like Ansys Q3D Extractor, COMSOL AC/DC Module. Can be used at the design stage.
- Back-calculation from Actual Waveforms — Read the LC resonance frequency from the ringing waveform in a double-pulse test and estimate $L_s = \frac{1}{(2\pi f_{ring})^2 C_{oss}}$.
The true value of CAE shines in the second approach. It allows predicting parasitic parameters without a prototype and feeding them back into snubber design.
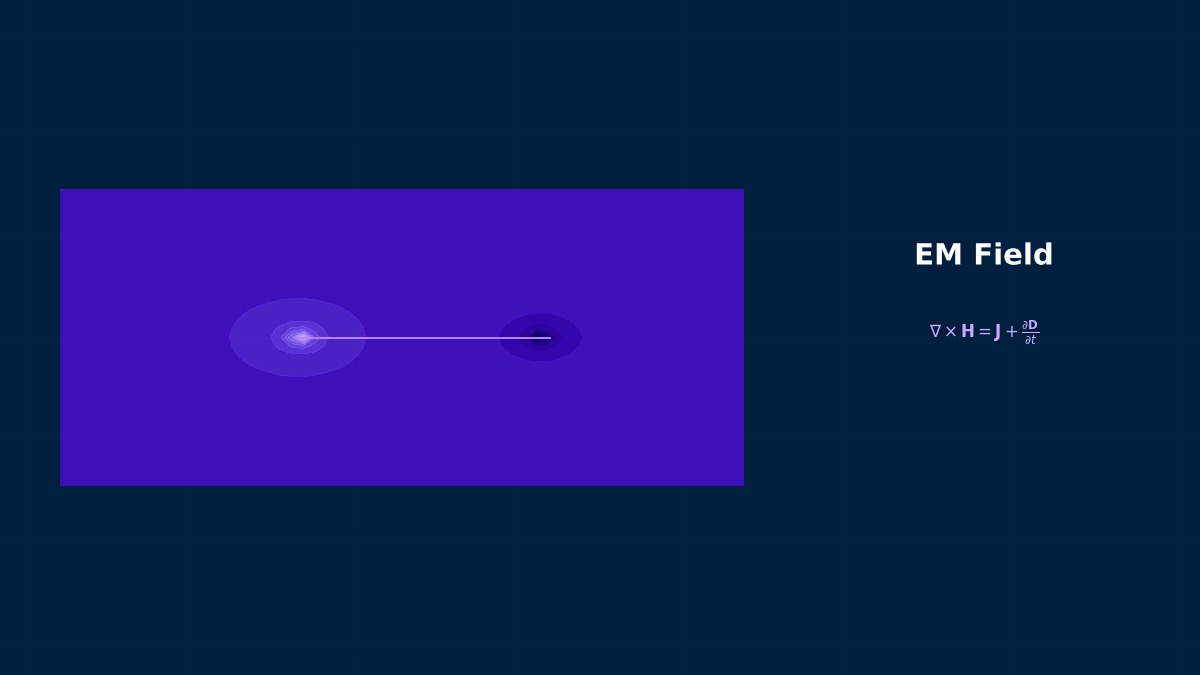
Snubber Circuits—The Unsung Heroes of Power Electronics that "Kill Voltage Spikes"
The term "snubber" originates from the English word "snub" (to stop abruptly, to suppress). They have existed since the dawn of power converters; in the GTO (Gate Turn-Off thyristor) era, circuits couldn't operate without them. GTOs had low dV/dt tolerance, requiring snubber capacitors as large as several μF. The advent of IGBTs improved tolerance, allowing smaller snubbers. And with the SiC/GaN era, "snubberless design" has become possible, but small RC snubbers still play an active role in the field for suppressing parasitic oscillations and EMI. To optimize a snubber, correctly understanding the physics of "why spikes occur" and visualizing parasitic parameters with CAE is the shortcut.
Numerical Methods and Simulation
Circuit Simulation Methods
I can get a rough value from the snubber design equations, but to check the actual waveform, simulation is necessary, right? What tools should I use?
Snubber simulation is mainly done in two stages:
- Circuit Simulation (SPICE-based) — Quickly verify waveforms with lumped parameter models.
- 3D FEM Electromagnetic Field Analysis — Extract distributed parasitic parameters to improve circuit model accuracy.
First, let me explain the SPICE simulation procedure. LTspice (free, by Analog Devices) is the most commonly used.
Procedure for snubber circuit simulation in LTspice:
- Obtain Device Models — Download SPICE models (.lib) from manufacturer sites. For IGBTs, e.g., Infineon's IKW40N120H3; for SiC MOSFETs, e.g., Wolfspeed's C3M0065090D.
- Build Double-Pulse Test Circuit — Basic configuration: DC bus + inductor + DUT (Device Under Test) + freewheeling diode.
- Add Parasitic Inductances — Insert estimated L values for each wiring path.
- Add Snubber and Run .tran Transient Analysis — Perform a parametric sweep of $C_s$, $R_s$ to search for optimal values.
- Check Vds Waveform in Waveform Viewer — Verify turn-off overshoot voltage, dV/dt, ringing frequency.
Parametric sweep means varying the C and R values to find the best combination, right? Doing it all manually seems tough...
In LTspice, you can simply write .step param Cs 1n 10n 1n to sweep $C_s$ from 1nF to 10nF in 1nF steps. $R_s$ can be similarly swept. By combining both sweeps in nested .step commands, you can automatically search over a design space and display the results as contour plots showing which (Cs, Rs) pair minimizes overshoot while maintaining damping. This is much faster than trial and error.
That's very efficient. But where do the parasitic inductance values come from initially? Trial and error on the prototype?
That's where 3D FEM comes in. Using Ansys Q3D Extractor or COMSOL, you build a 3D CAD model of your PCB layout and power module busbar, then solve the quasi-static electromagnetic field to extract the RLC parameters. A typical workflow is:
- Import 3D PCB Geometry — From Altium, KiCad, or EDA tool gerber files.
- Set up AC/DC or Electrostatics Module — Define conductivity, geometry boundaries.
- Define Current Loops — Specify source and return paths.
- Solve and Extract S-parameters or RLC Models — Obtain distributed inductance and capacitance.
- Export to Touchstone (.s2p) or SPICE Netlist — Feed into LTspice as a subcircuit.
This produces far more realistic parasitic values than simple hand calculations.
That's a complete workflow. So you design the snubber by iteration: start with hand calculations, refine with circuit sim, then validate the parasitic model from FEM, and iterate again?
Exactly. This is the modern CAE-centric approach to snubber design. It's much more reliable than relying on experience alone, and it significantly reduces the number of prototype iterations. Many design teams now perform such FEM-SPICE co-simulation at the PCB design review stage, before manufacturing the first prototype.
I'm starting to understand why CAE is so powerful for this field. It lets you "see inside" the parasitic world that you can't measure easily without a prototype.
That's the essence of it. And as design frequencies increase (250kHz, 500kHz in recent converters), these parasitics become dominant—they can make or break a design. Modern power electronics engineers rely heavily on CAE simulation to stay ahead of the electromagnetic complexity.